

Enamel pins have become increasingly popular in recent years for a variety of reasons. From expressing your personal style to boosting team morale, enamel pins are an easy way to add a bit of flair to any outfit or project. If you’ve ever been curious about making your own enamel pins, the process is surprisingly simple. Enamel pins are a great way to add a touch of style and personality to any outfit. Whether you’re looking to make custom pins for a company event or create a personalised accessory for yourself, Badges UK can help you design and manufacture your very own enamel pins. With our easy-to-follow guide, you’ll learn everything you need to know about the process of making unique and eye-catching enamel pins. Here’s a step-by-step guide to help you get started.
Step 1: Design Your Pin
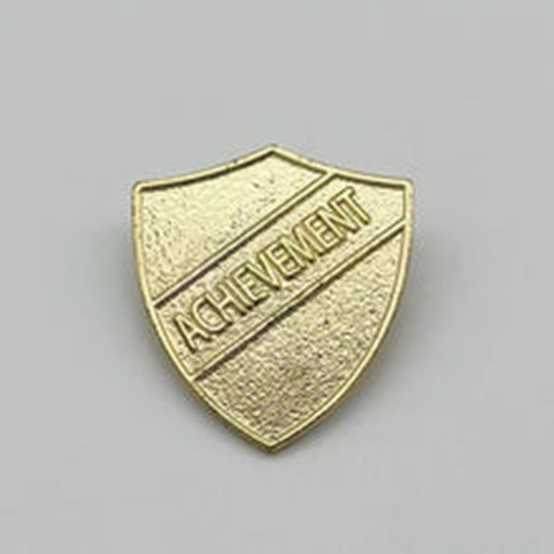
Enamel pins are small pins, usually made from metal, that are coated with coloured enamel to create a unique and eye-catching design. These pins can be attached to clothing, bags, hats and other items to create a unique and personalised look. Enamel pins are popular among all age groups and have become a popular fashion accessory.
The first step in creating your own enamel pin is to come up with a design. This can be as simple or as complicated as you would like. If you’re a visual artist, you may want to draw up a sketch of your design before you start. If you’re not artistically inclined, you can find a graphic design program or website that will help you create a pin design. Once you have a design, you’ll need to have it printed on a metal sheet or other substrate.
Enamel pins are a great way to express yourself and make a statement. Whether you’re a student, a professional, or a hobbyist, you can create your own unique pin design that reflects your personality and interests. One of the most popular uses of enamel pins is to create school badges. School badges and Subject Badges are the perfect way to show your school spirit and express your identity. With enamel pins, you can create a design that is unique to your school that can be worn proudly by students, faculty, and staff.
When creating school badges with enamel pins, it’s important to select a quality substrate to ensure your pins last. The most common substrate used for enamel pins is copper. Copper is an ideal substrate for enamel pins because it is strong, durable, and won’t easily corrode. Additionally, copper is a great base for enamel pins because it is easy to work with and can be molded into virtually any shape.
Step 2: Create a Mold
The materials needed for making enamel pins include metal, enamel paint, a metal cutting tool and a pin back. The metal can be of any type, such as copper, iron, brass or stainless steel. The enamel paint is used to create the desired colour and design of the pin. The metal cutting tool is used to cut out the desired shape of the pin. The pin back is used to attach the pin to clothing or other items.
Once you’ve finalized your pin design, you’ll need to create a mold. This can be done by either 3D printing the design or creating a rubber mold that can be used to make copies of the pin. This step is essential for ensuring your pins look exactly the way you planned.
Step 3: Fill the Mold with Enamel
Once you have determined the shape and size of your pin, you can begin to cut it out of the metal. You can use a metal cutting tool, such as a die cutter, to cut out the shape of your pin. You can also use a drill to cut out the shape of your pin, but this method is more time-consuming.
Now that you have your mold, you’re ready to fill it with enamel. This can be done with either a syringe or a pipette. Make sure to fill the mold completely and evenly with the enamel.
Step 4: Bake the Pin
Once the mold is filled with enamel, you’ll need to bake the pin in an oven. The temperature and baking time will depend on the type of enamel you’re using, so make sure to check the instructions carefully.
Step 5: Remove the Pin from the Mold
After you’ve baked the pin, it’s time to remove it from the mold. This can be done by simply popping the pin out of the mold or using a pair of tweezers.
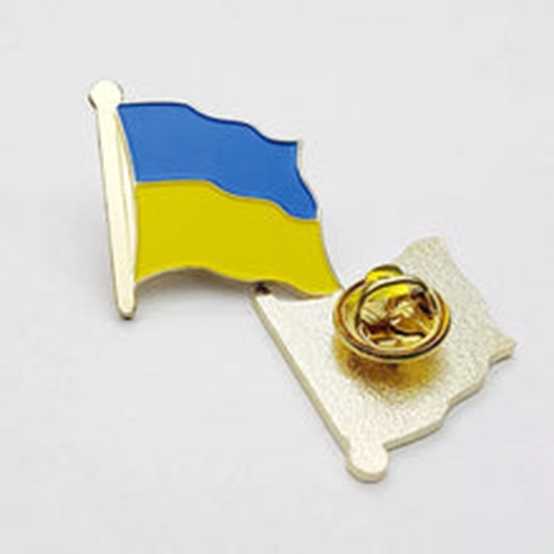
Step 6: Attach a Pin Back
The final step is to attach a pin back to your enamel pin so it can be worn or displayed. This can be done by gluing the pin back to the pin or using a special tool that attaches the pin back more securely.
Congratulations! You’ve now created your very own featured enamel badges. With a bit of practice and patience, you’ll be a pro in no time. Happy crafting!